Take a photo for a task
What you achieve: A photo from the site is attached to the right task and reaches the project lead in Rillsoft Integration Server – even if you have no network right now.
Before you start
You are signed in to the app and see the task in the task list.
You have the permission to view and create documents. Permissions are granted by the administration in Rillsoft Integration Server (see Roles and permissions). Without the permission to view documents, the blue column is missing on the task card.
The device has a camera.
Where the documents of a task are
The task card shows the documents in a separate, blue-tinted zone:
Task with time recording and documents: on the right of the card is a blue-tinted column with a paper clip and a number. The number is the number of documents on the task. A tap on the column opens the document list, a tap on the rest of the card opens time recording.
Task for documents only: the whole card is tinted blue. A tap anywhere on the card opens the document list.
The number on the card always looks the same. Only the document list shows whether a document has already been transferred or read.
Steps
In the task list, tap the blue-tinted column on the right of the task card. If the whole card is tinted blue, tap anywhere on the card.
The document list opens. The header names the task, project and period.
At the bottom right, tap the round button with the camera (the lowest of the three buttons).
The first time, Android asks whether the app may use the camera. Allow it.
Take the photo and accept it in the camera app.
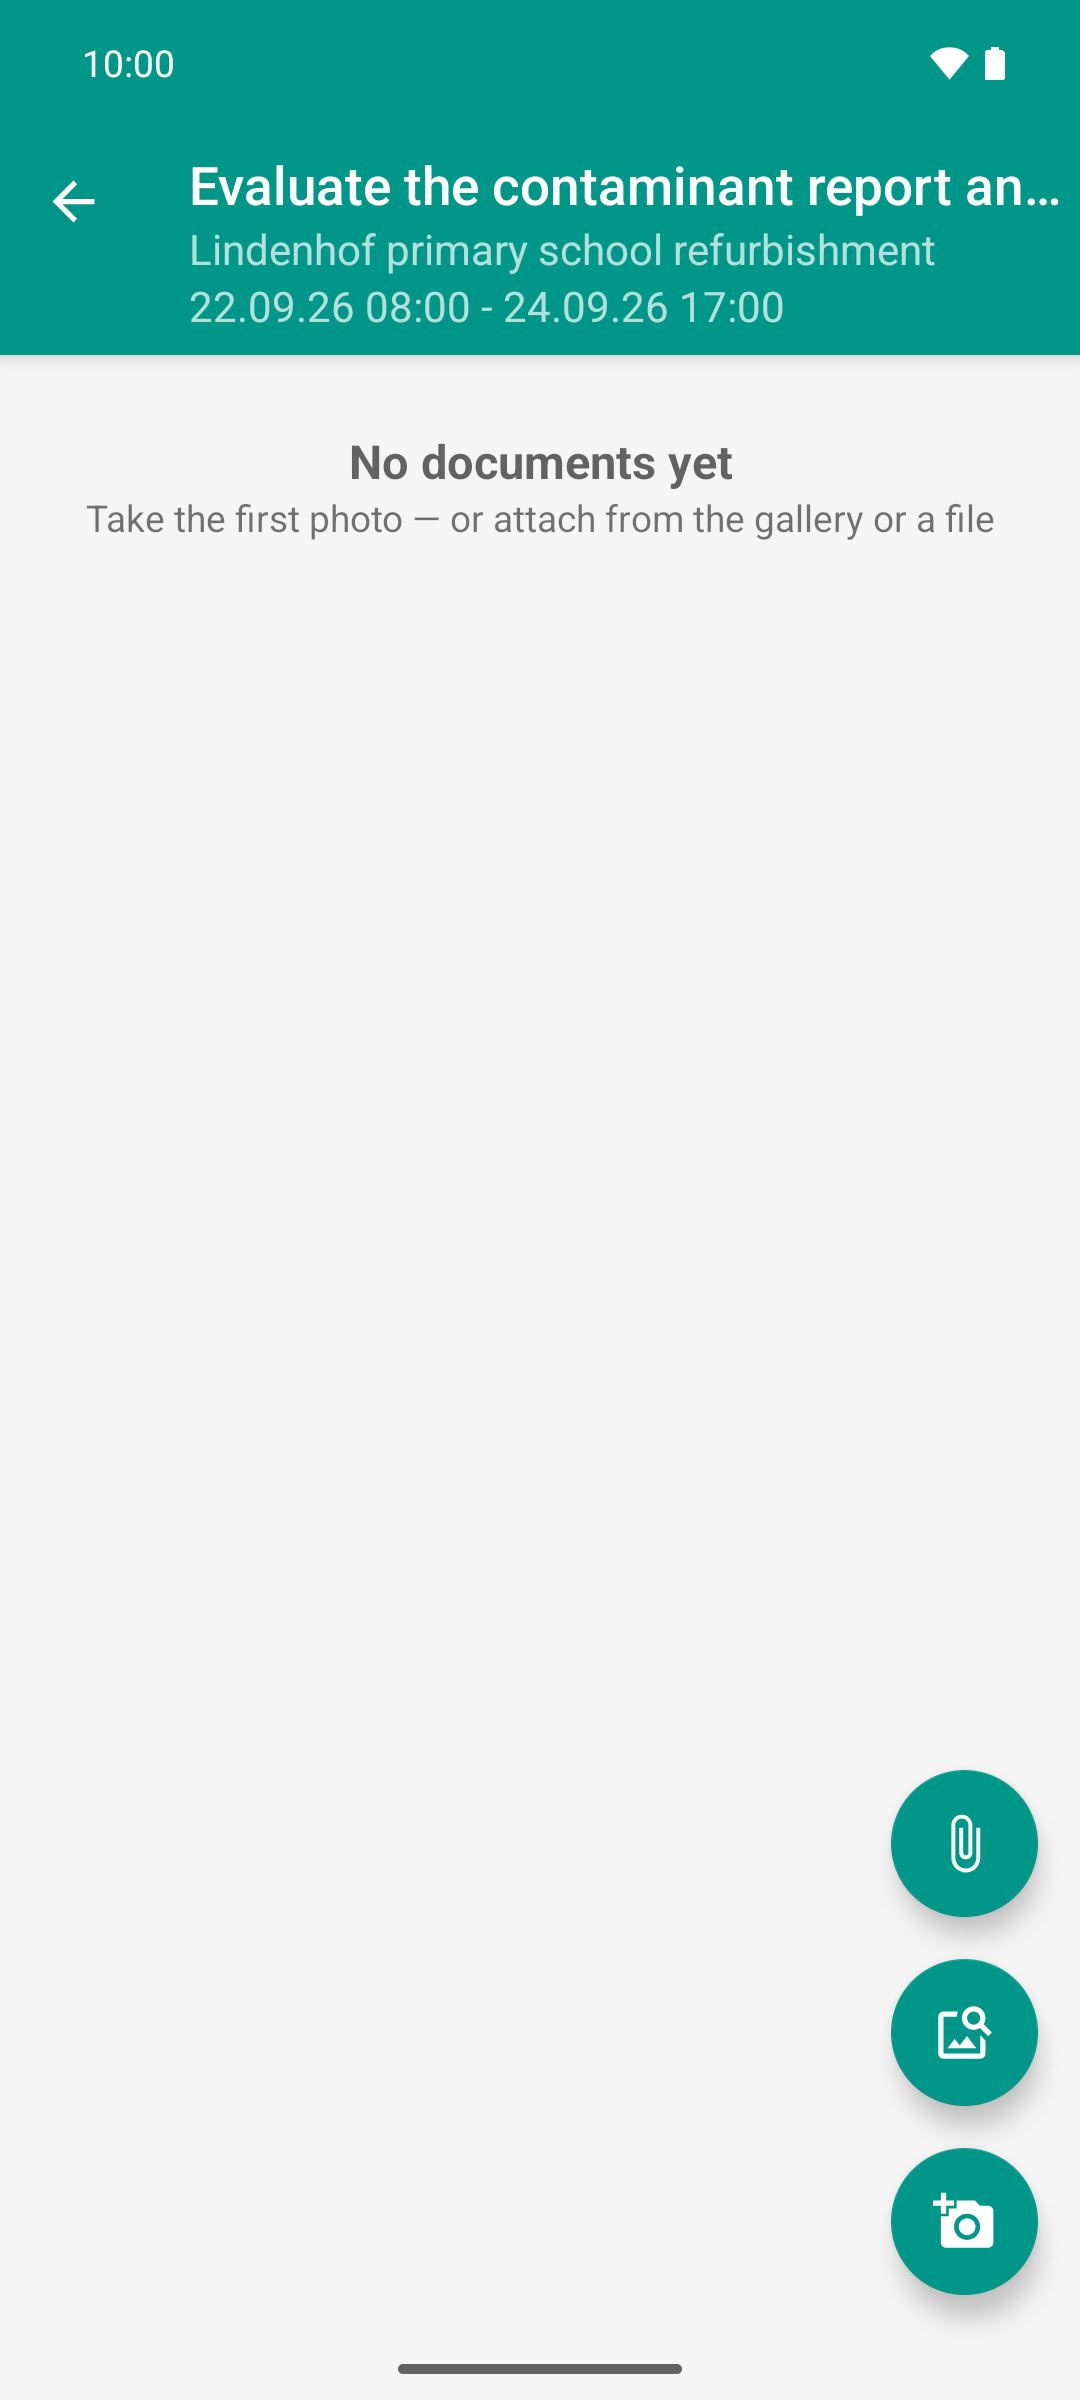
The blue column of the card leads to the document list of the task. Nothing is attached yet; the three buttons at the bottom right add a file, an image from the gallery or a new photo.
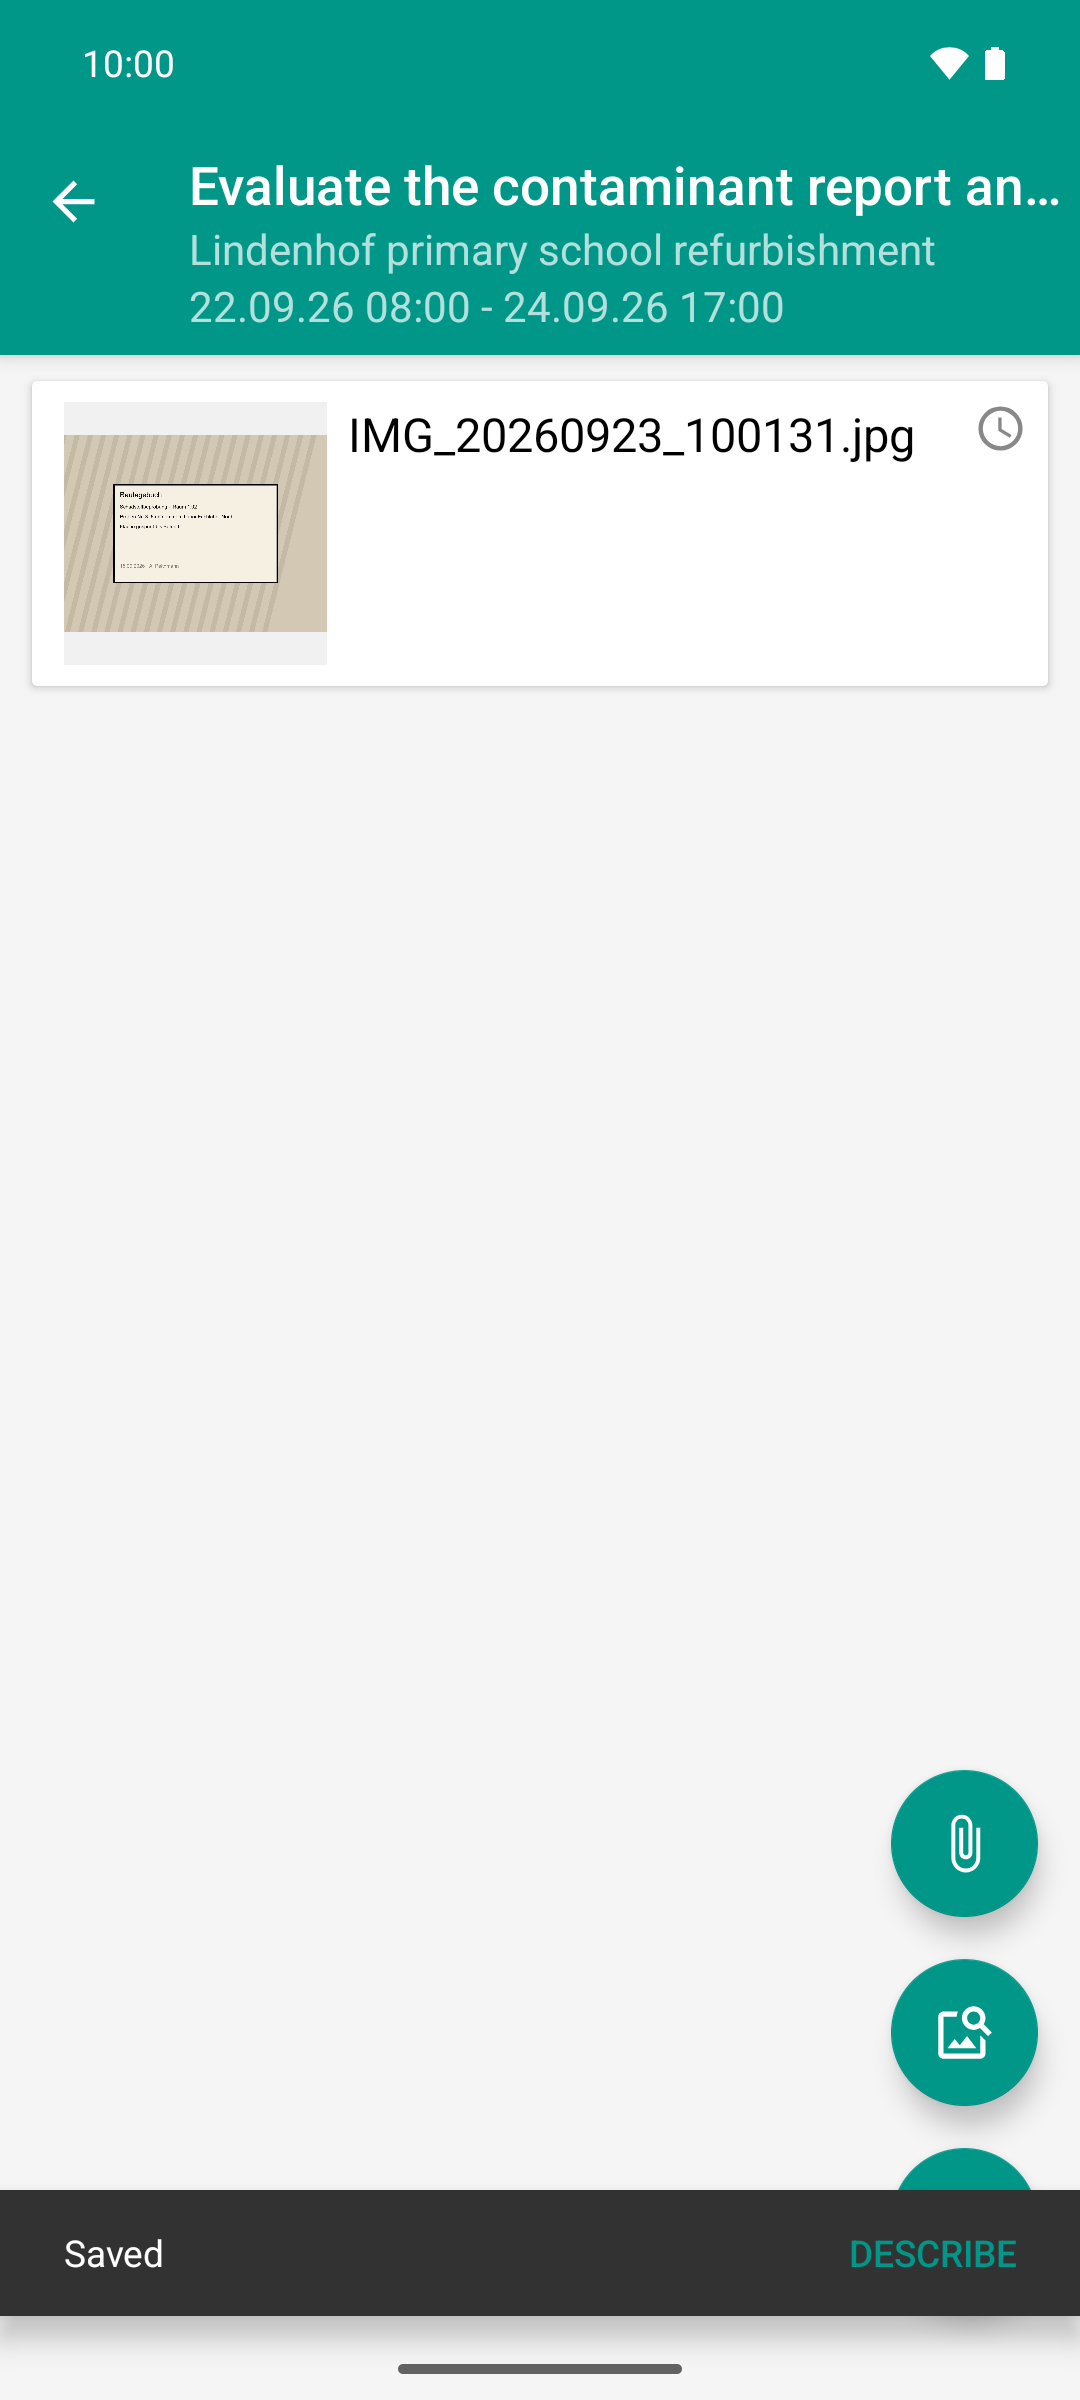
The same list, now with one photo instead of none. It is saved right away; the clock shows that it has not reached the server yet.
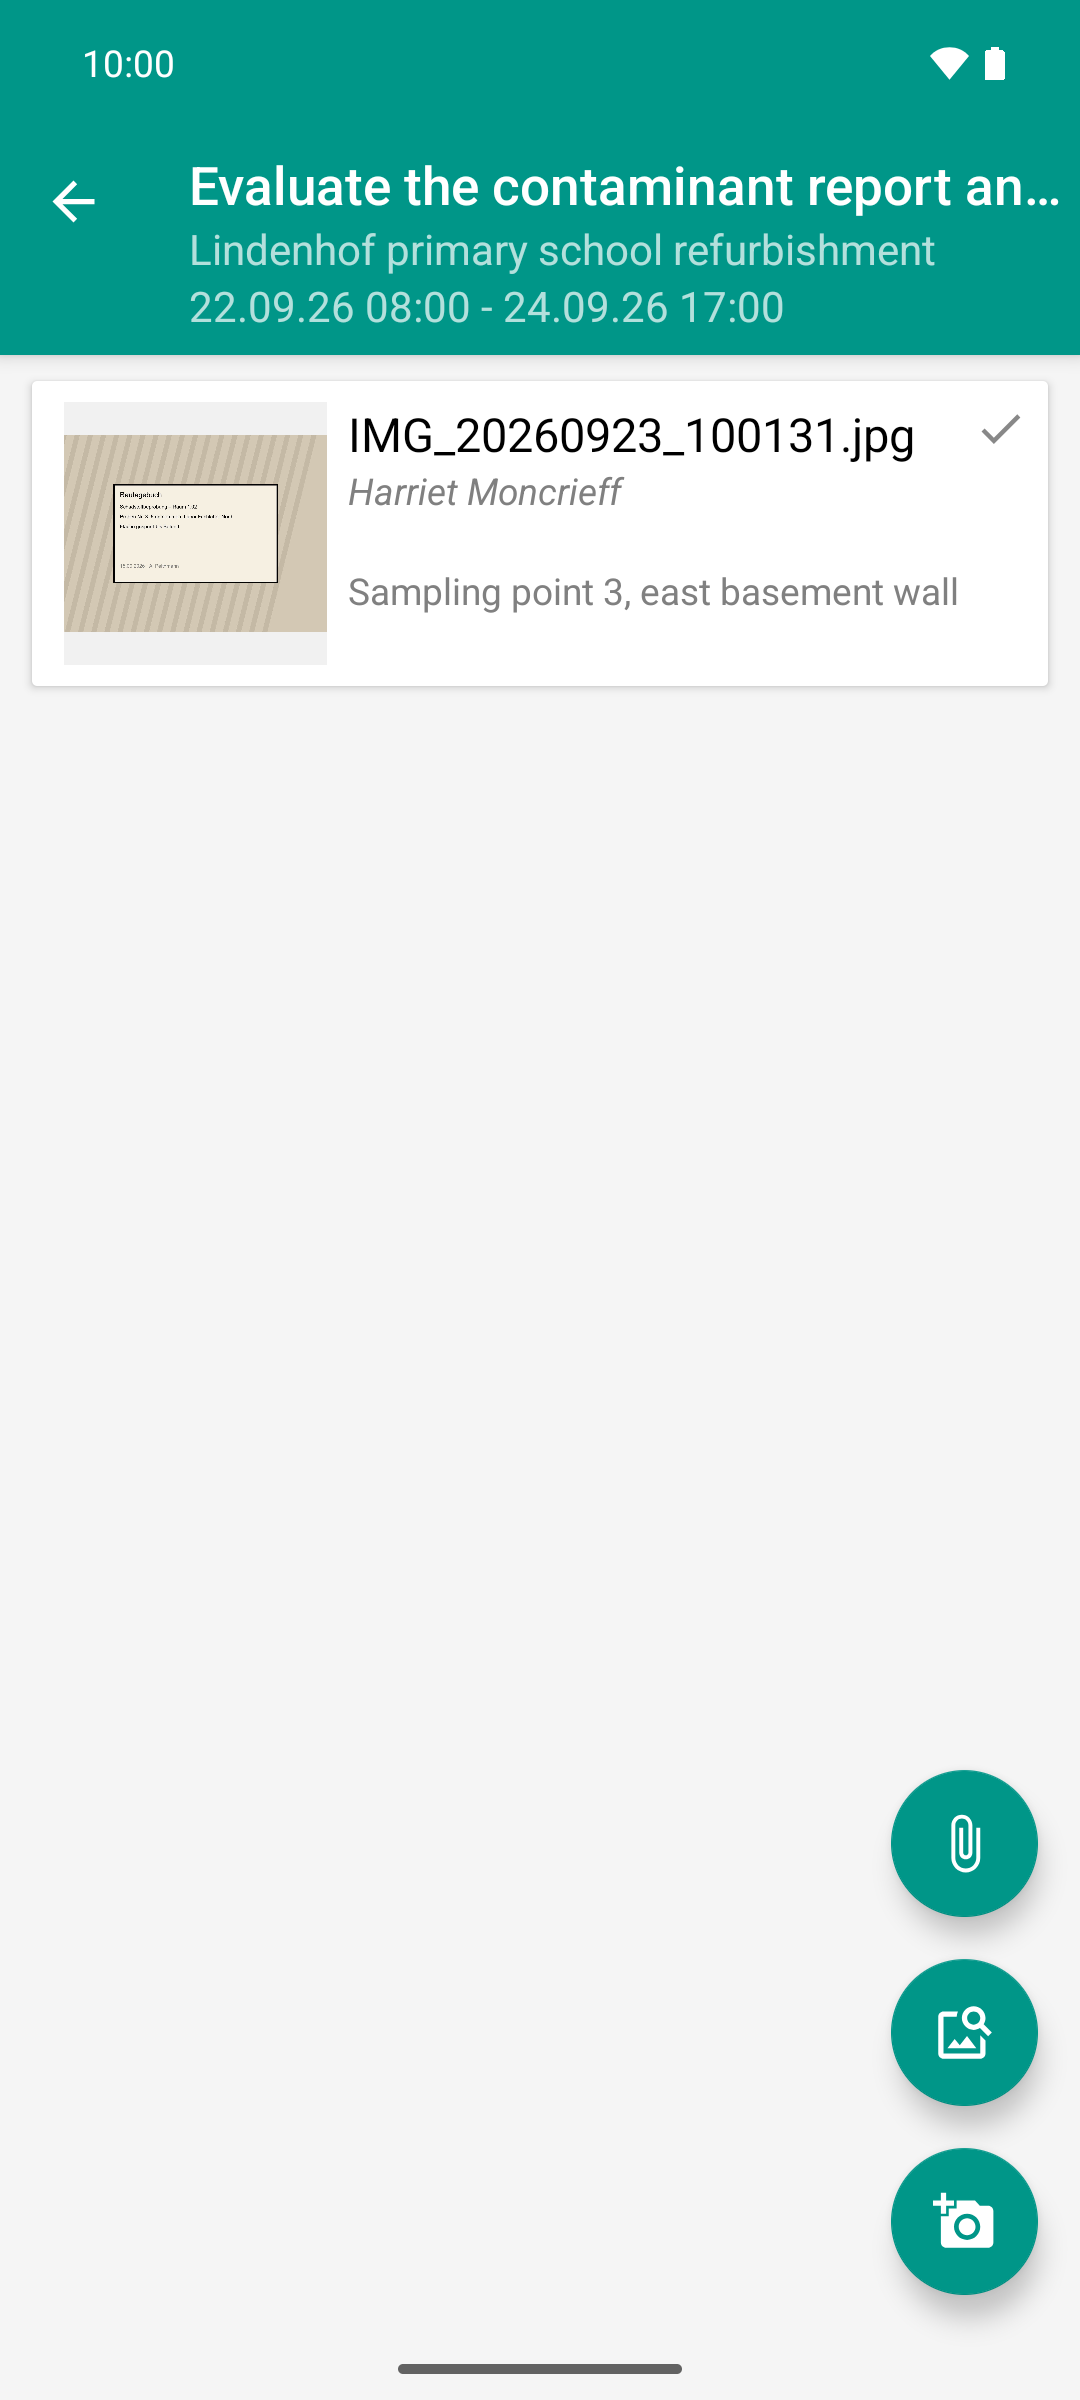
The same photo, now with a description and a tick instead of the clock: it is on the server. The number in the blue column of the card is now 1.
Result
The photo appears in the document list right away. The file name starts with
IMG_and contains the date and time of the shot.On the right of the entry is a clock (transfer pending).
At the bottom, the bar Saved with the action Describe appears for a few seconds. A description is optional; the photo is saved without one, too.
As soon as the photo has reached the server, the icon changes to the tick ✓.
Back in the task list, the blue column of the card shows a number that is one higher.
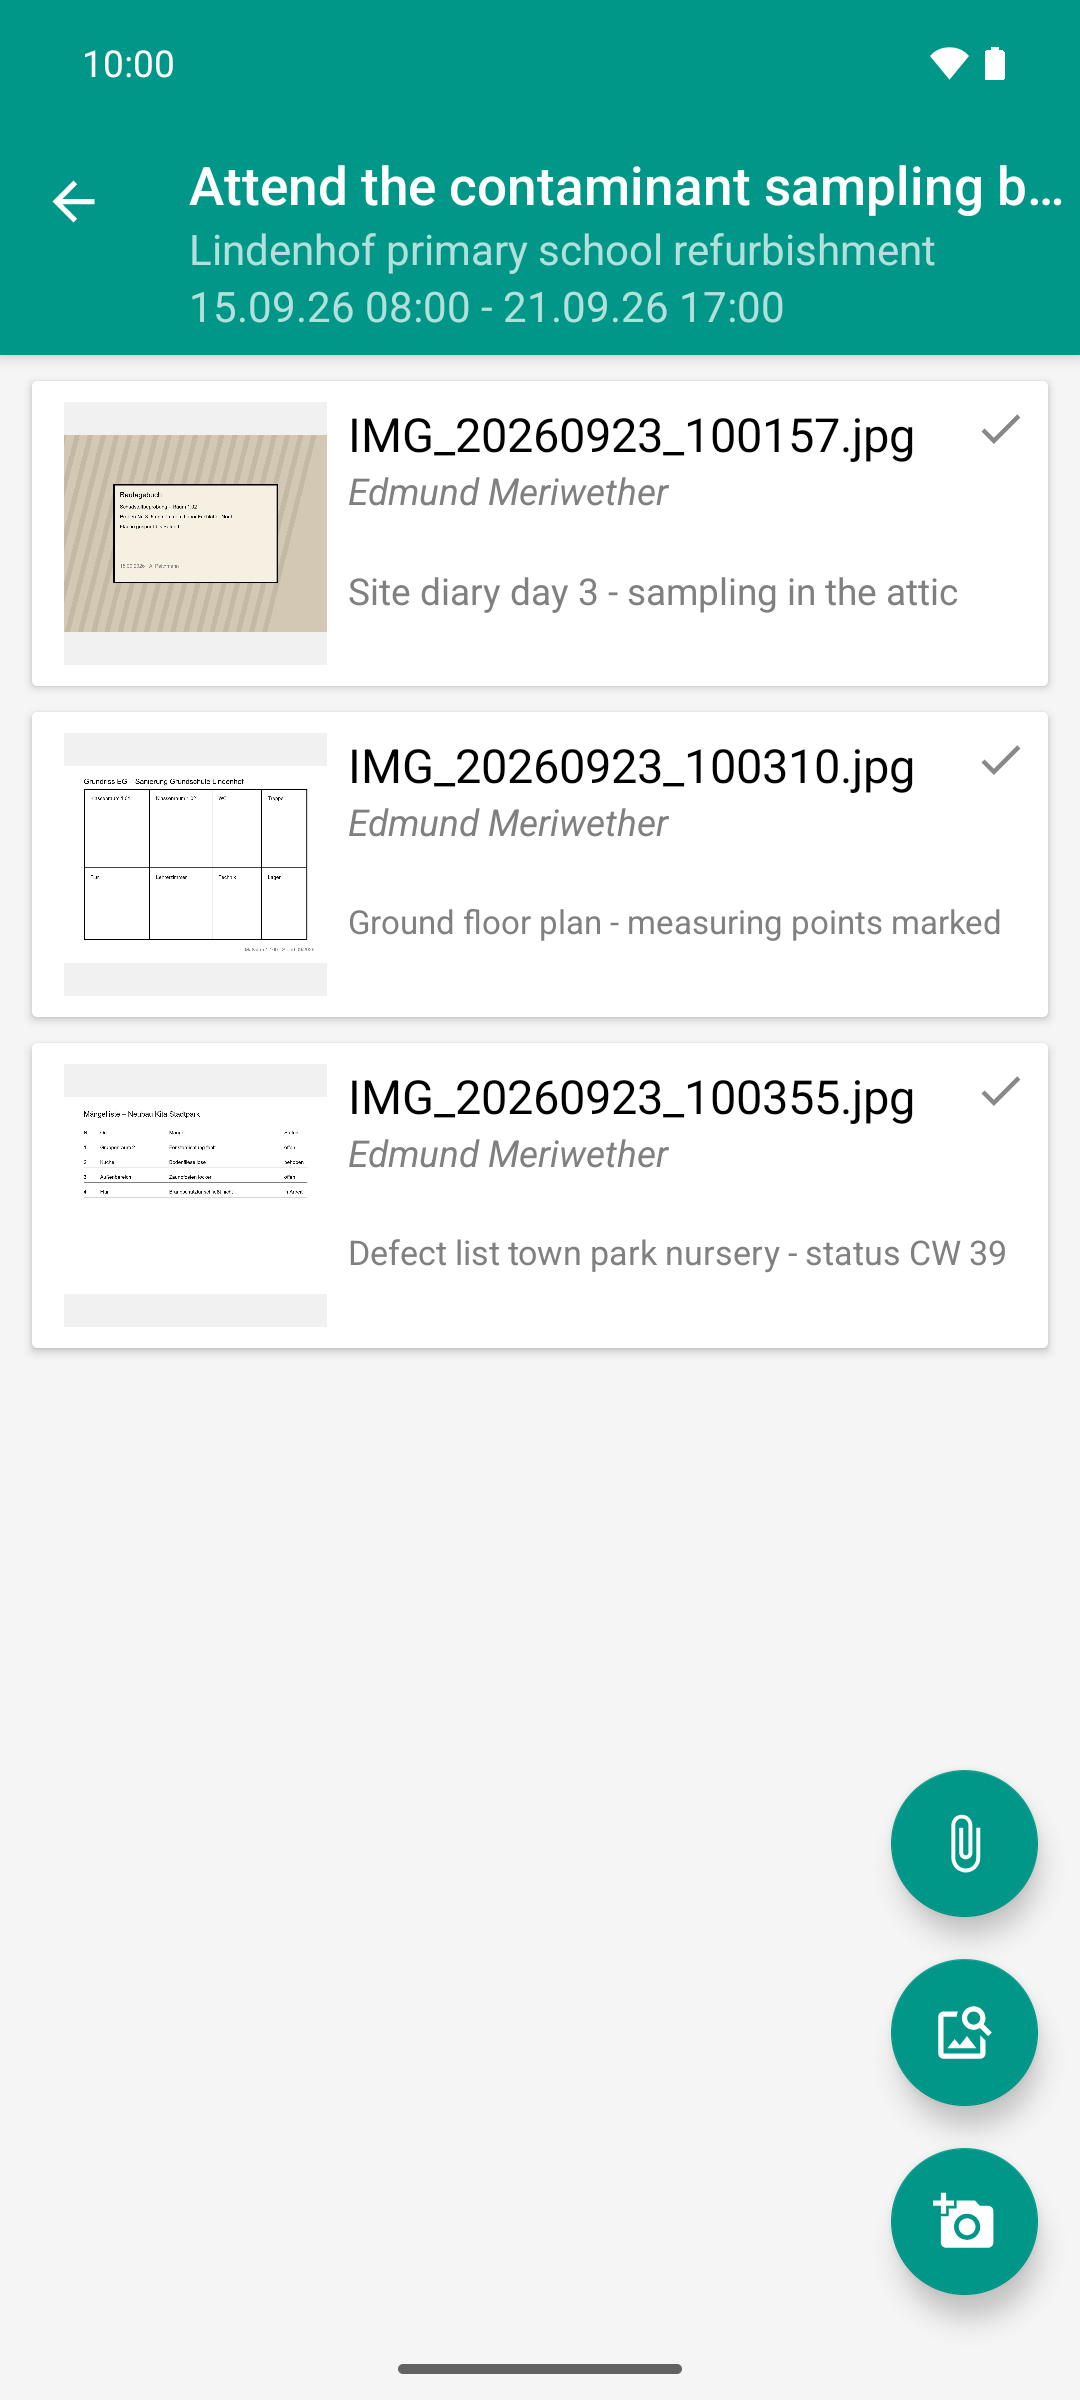
Photos and files belong to the task. Capture, caption, upload - the transfer runs in the background.
Good to know
Without network you keep taking photos as usual. Each photo appears in the list with the clock; the app discards nothing. As soon as the network is back, open the document list or pull the list down. The photos are then transferred, and one by one the clock turns into the tick ✓.
As long as the clock is shown, the photo has not reached the server. The icon shows the actual state.
When saving, the app reduces photos according to the setting Photo quality. More on this under Photo quality and data usage.
If Android closes the app while the camera is open, the photo is not lost: the document list comes back, and the photo is in it.
Besides photos, you can attach images from the gallery and any files, see Attach and delete files.