Describe or replace a photo
What you achieve: Each photo says in a description what it shows. You swap a failed photo without having to type the description again.
Before you start
The photo is in the document list of the task (see Take a photo for a task).
You have the permission to change documents. Permissions are granted by the administration in Rillsoft Integration Server.
Describe a photo
The description is optional and can be set or changed at any time. There are three ways, all with the same result.
Right after taking the photo
In the Saved bar at the bottom, tap Describe. The bar stays for only a few seconds. If it is already gone, use one of the other two ways.
Enter the description and save.
Later in the document list
Press and hold the entry. The header turns into the selection bar.
Tap the pencil (edit description). It only appears when exactly one entry is selected.
Change the prefilled text and save.
In the image viewer
Tap the entry. The photo opens in the image viewer.
At the bottom, change the text in the description line.
Tap the arrow button to the right of the line. The viewer closes, and you are back in the list.
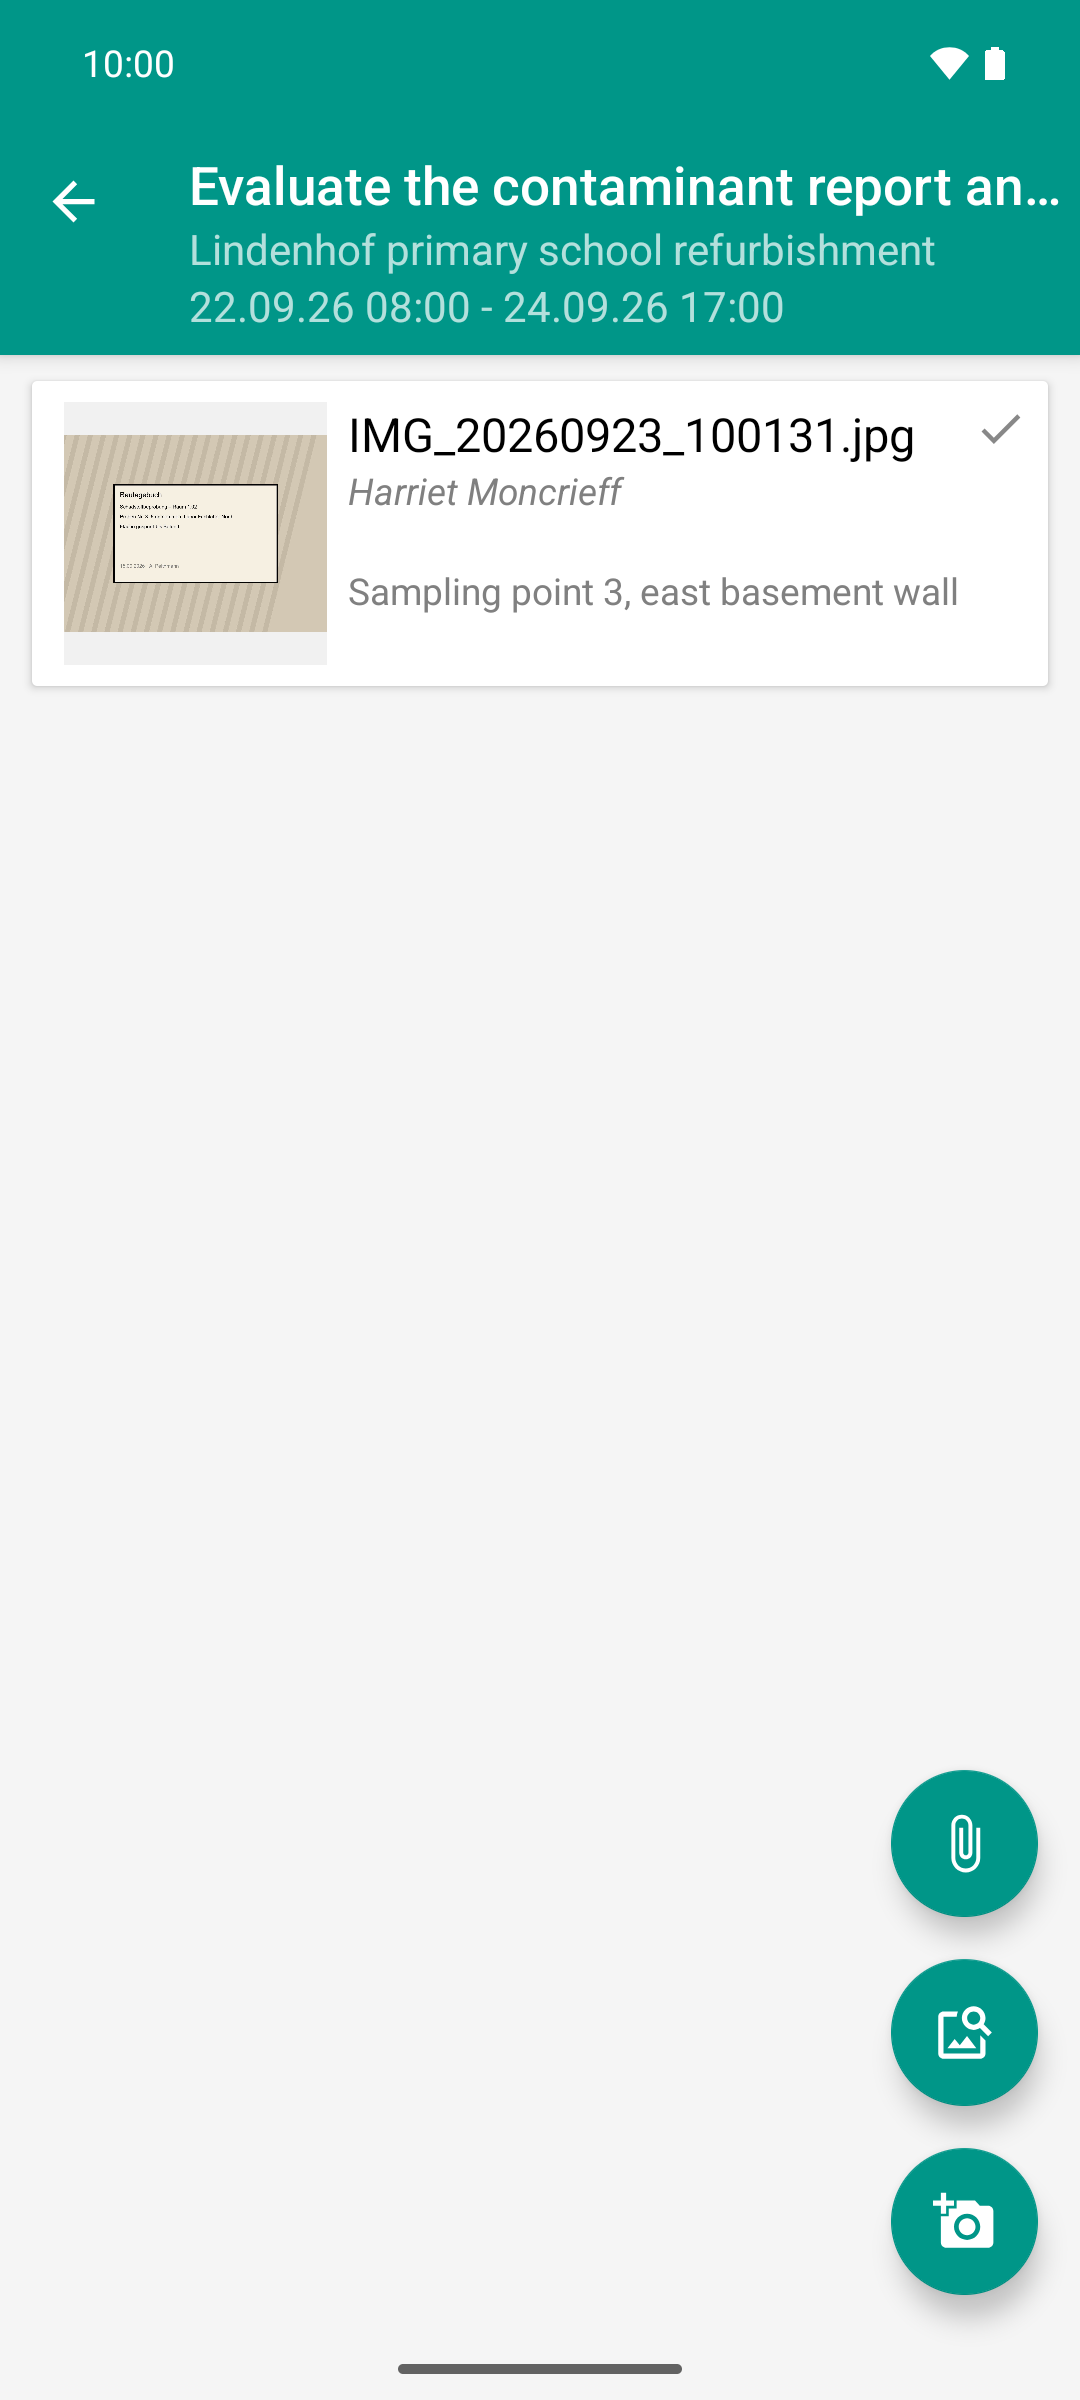
The same photo, now with a description and a tick instead of the clock: it is on the server. The number in the blue column of the card is now 1.
Replace a photo
In the document list, tap the failed photo. It opens in the image viewer. At the bottom are the description line as well as Delete and Replace.
Tap Replace. The camera opens.
Take the new photo and accept it.
Result
Describe: The description appears in the list below the file name and in the image viewer below the title. The project lead sees it in Rillsoft Integration Server. While the change is being transferred, the icon on the entry can change briefly; afterwards it shows ✓ again.
Replace: The list has exactly as many entries as before. In place of the old photo is the new one, with a new file name and the same description. After the transfer it shows ✓. On the server, only the new photo remains. There is no moment in which the task has no photo at all.
Good to know
Describing defects: Without descriptions, a list with many photos is hard to read. Write what, where and how big, for example “Crack in wall, section 3, approx. 2 mm, ground floor east”. This saves follow-up questions.
You can also change the description without network. It is transferred as soon as the network is back.
Replace and Delete in the image viewer act on the photo that is currently shown. If you have swiped on in the viewer, that is a different one from the one you tapped first.
Replace always takes the new photo with the camera.
If an entry shows a warning triangle, the server has rejected the photo. A changed description or Replace starts a new attempt.