Screens and their controls
This page explains which screens Rillsoft Connect has, how you switch between them and where the instructions for each screen are.
The way through the app
The app has no separate start screen with tiles. After you sign in, it opens the task list directly; from there you reach everything else:
Sign-in → Task list
Task list, tap a card → Time recording
Task list, tap the blue column of the card (for cards with documents only: the whole card) → Document list → tap a photo → Image viewer
Task list, plan board icon in the top bar → Plan board (first the project selection, then the board)
Task list, palm tree in the top bar → Vacation requests
Task list, three-dot menu → Settings
Which icons appear in the top bar depends on your permissions, see Permissions and what they hide.
Sign-in
Username, password, LOGIN, Remember me and Forgot Password?. Below them the line with the server address; tap it to enter a different server before you sign in. Instructions: Set up the app and sign in.
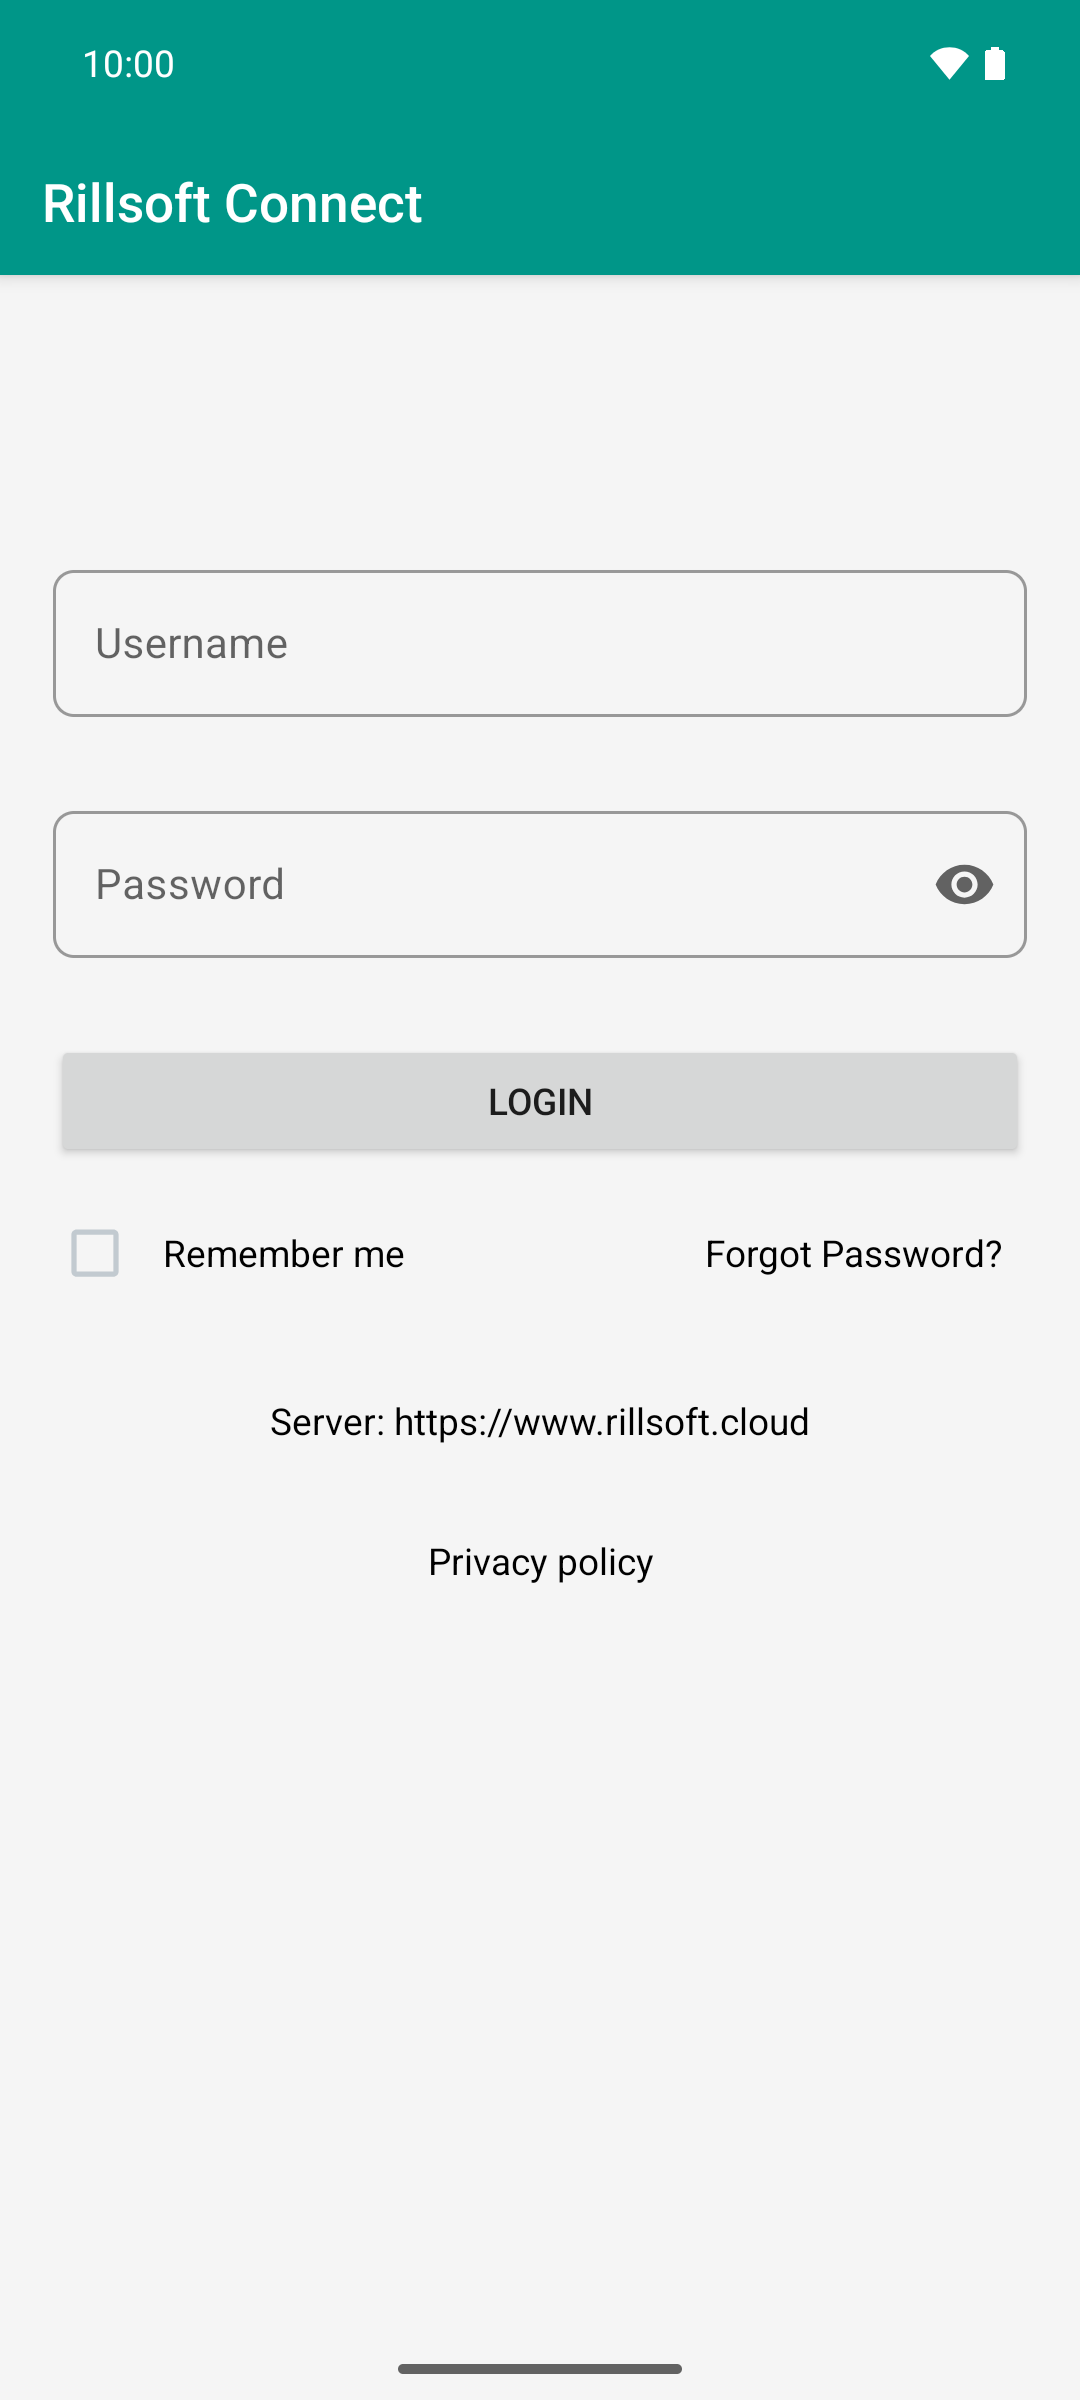
The server address comes first: the cloud is preset, self-hosted installations enter their own address here.
Task list
The start screen. At the top the top bar with the icons, below it the calendar week, the date range with the buttons for paging and the views All, Time recording and Completed. One card per task. Swiping a card to the right reports the backlog as planned, swiping it to the left approves the reported hours. Tapping the turquoise hours opens the approval view. Instructions: Read the task list.
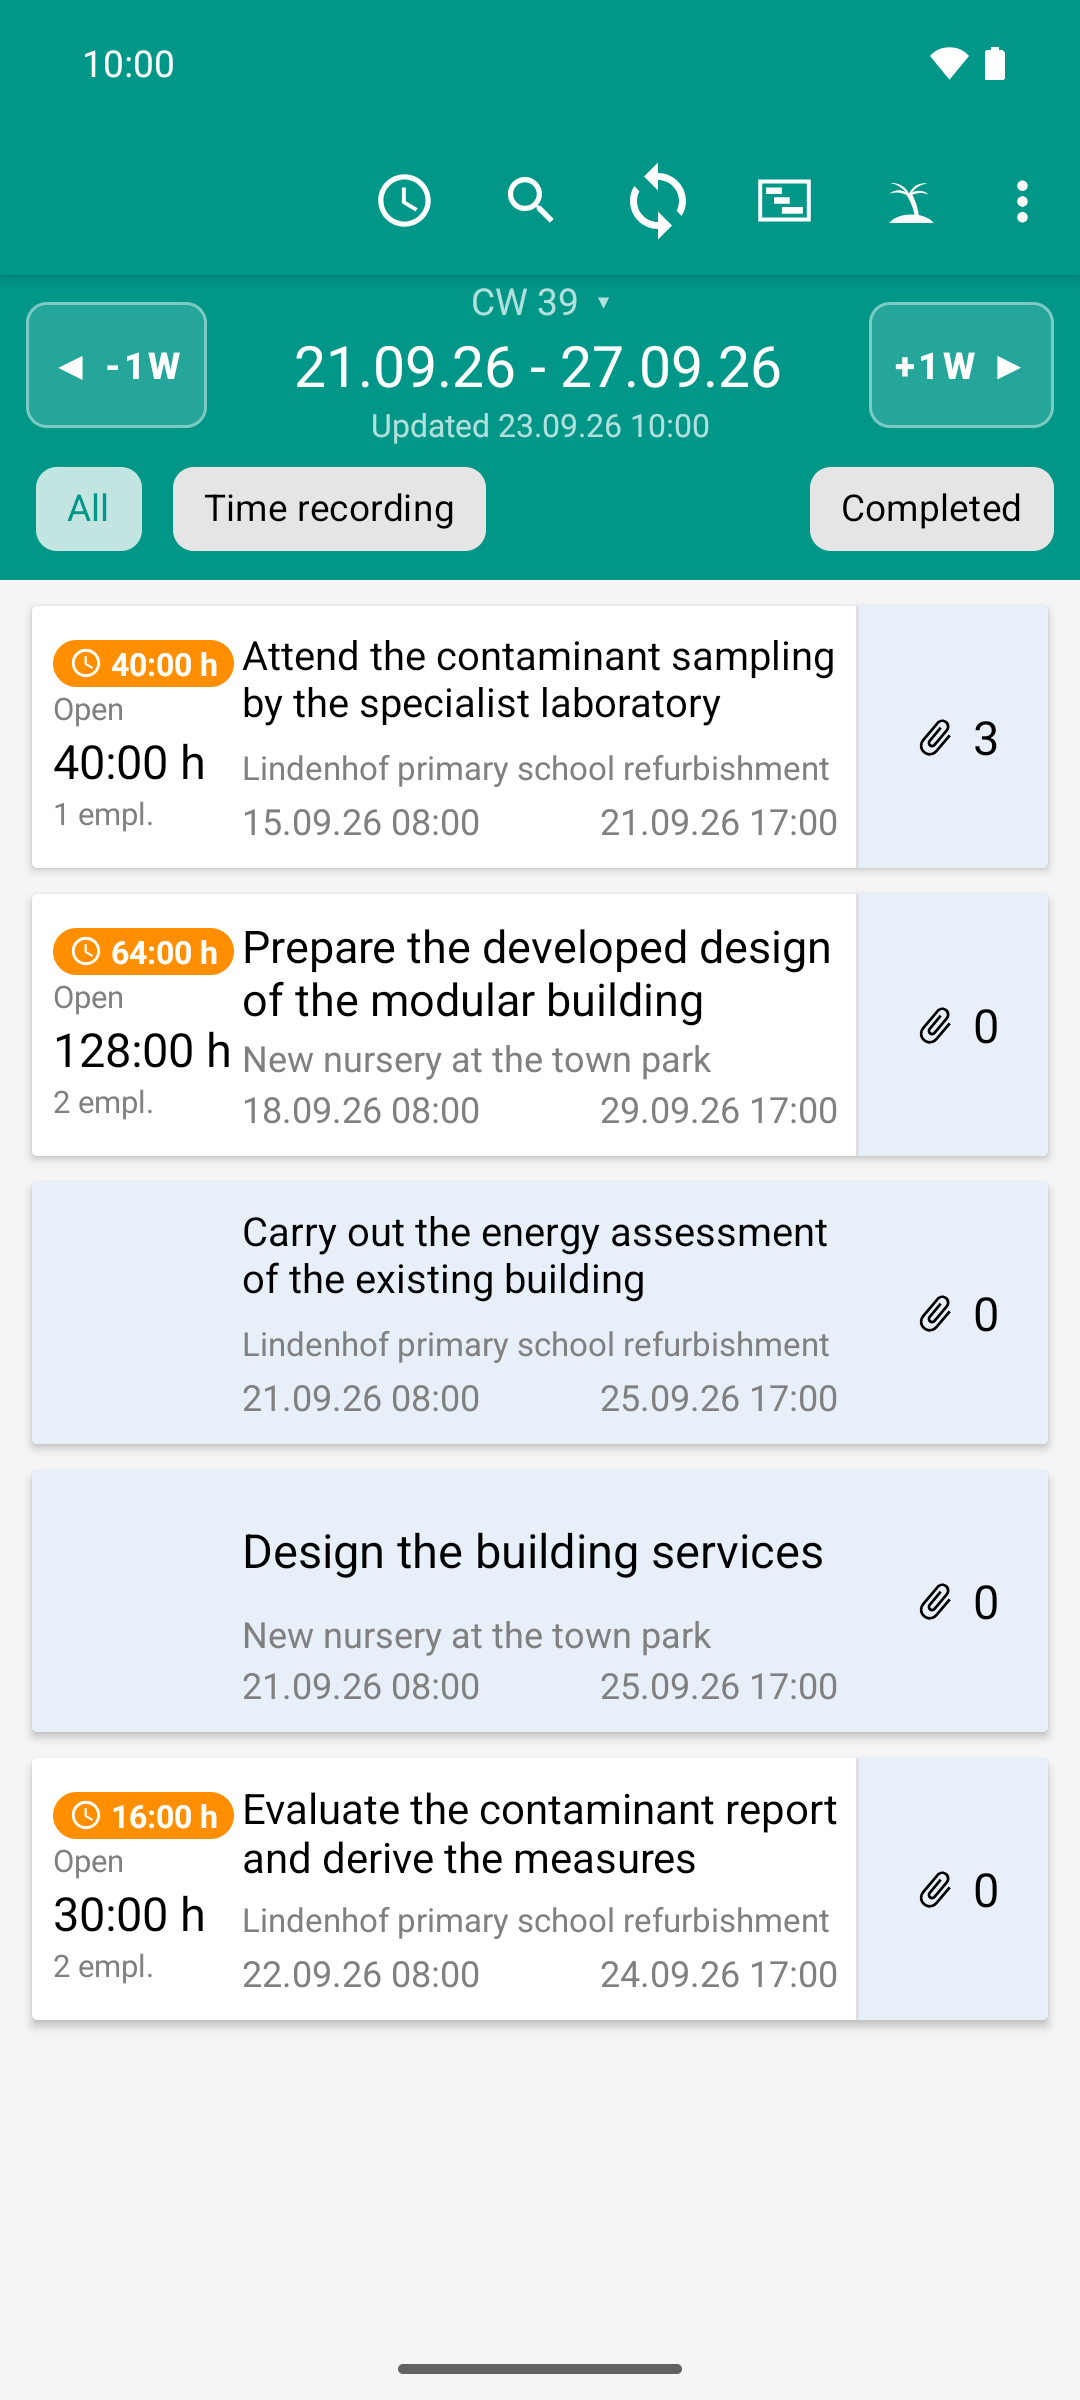
The task list is the starting point: one card per task with project, period, open hours and the number of photos. The orange badge shows where hours are still to be reported.
Time recording
A single screen per task, without subpages. At the top the effort card with planned and reported time and the open effort; tapping it opens remaining effort and note. Below it one card per day with the shifts (From, To, Duration), the plus and minus buttons and the status icon. The round plus button creates a day. The clock icon in the top bar hides days that are already reported. If you are allowed to report for several people, a name bar is shown at the top. Instructions: Report a day as planned, Report time for several people.
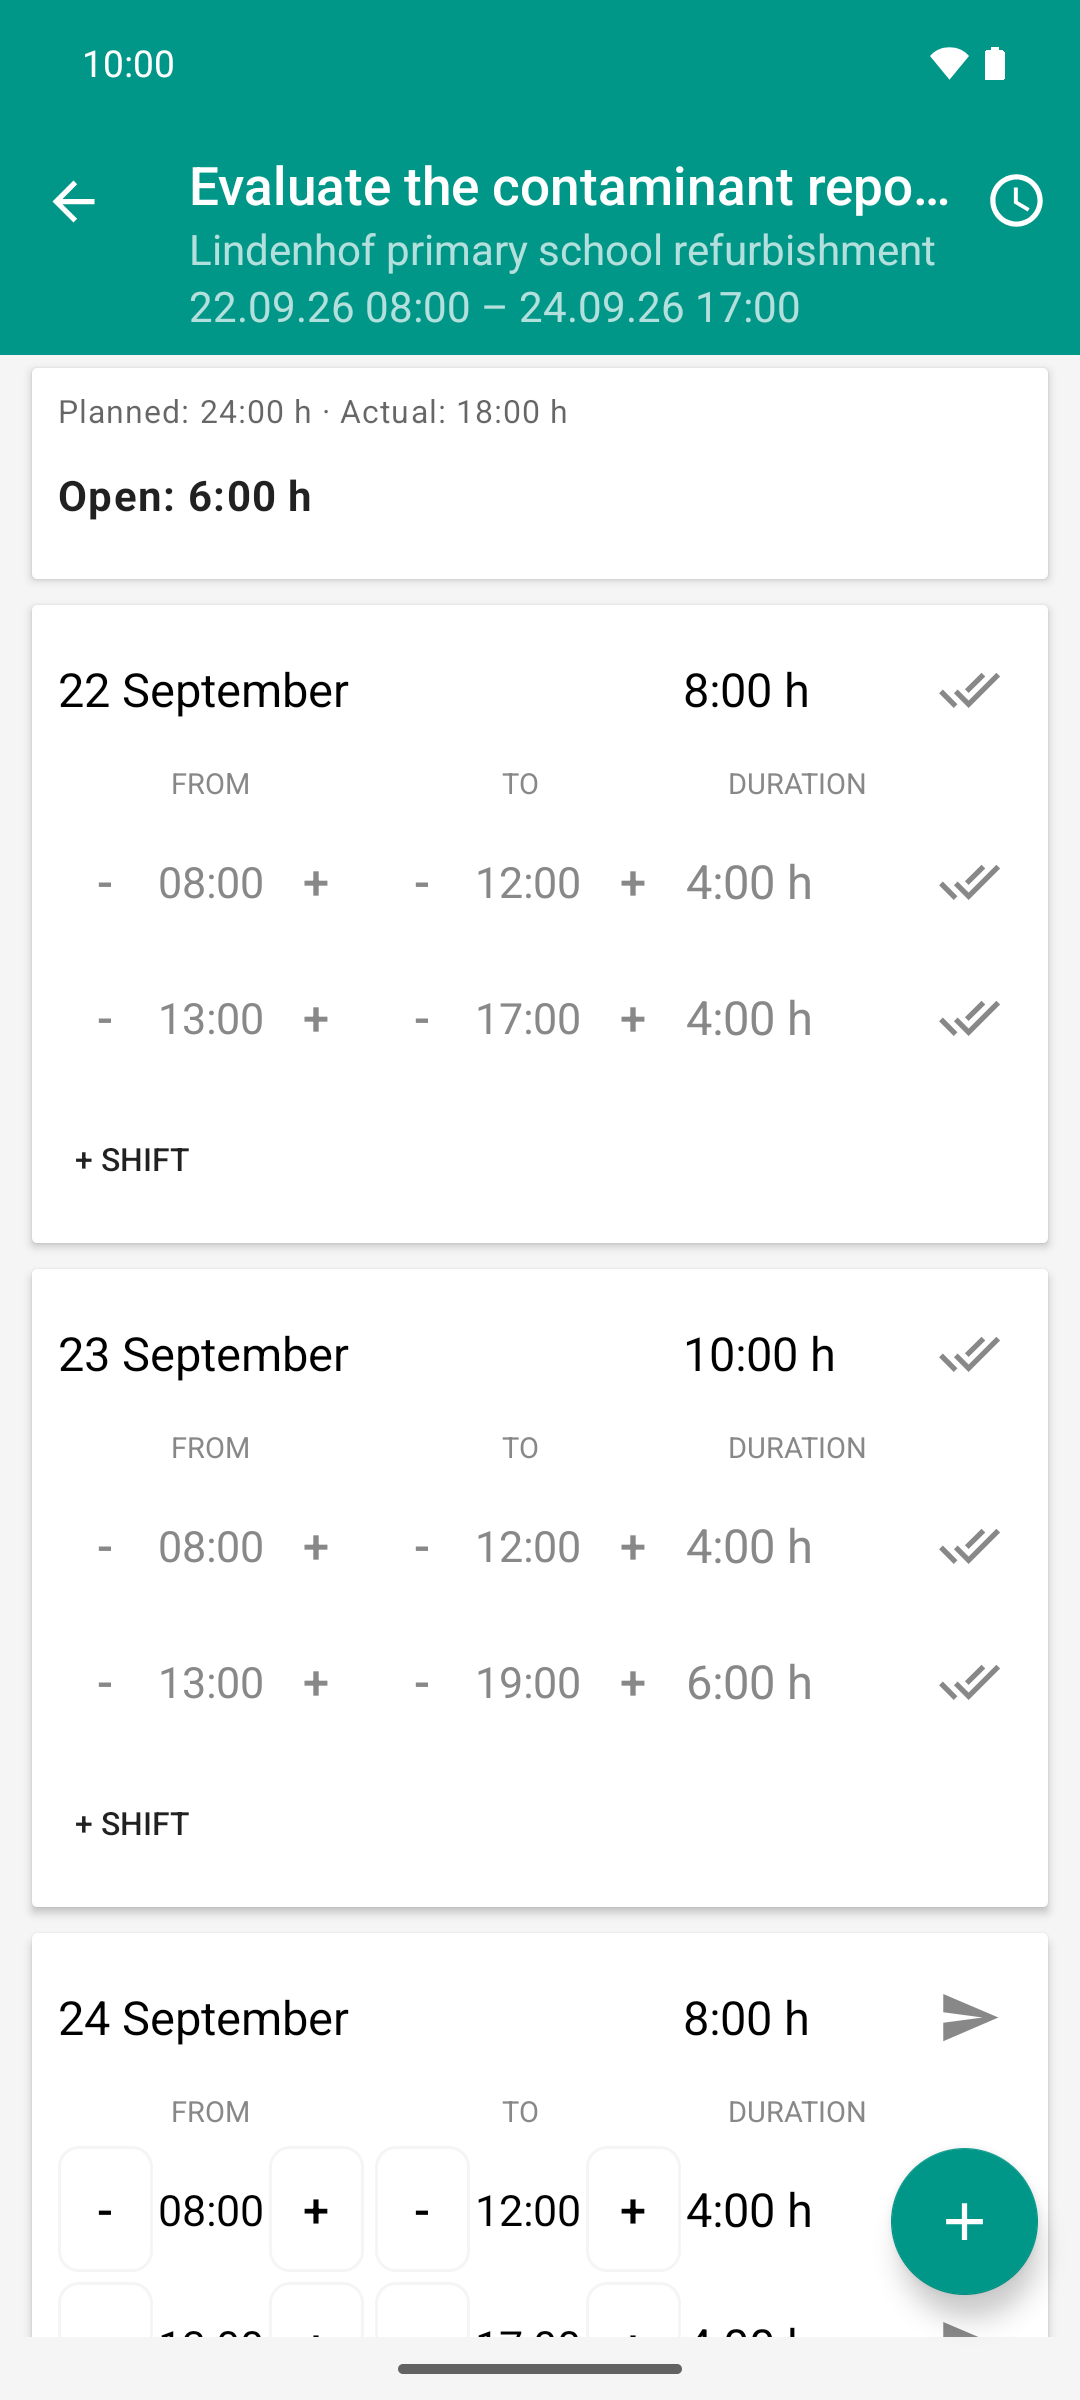
One week per task: the effort at the top, each day below with planned and reported time. The double tick marks what is already confirmed.
If you are not allowed to report for anyone on a task, the app shows the notice “No employees you are authorized to record time for.” instead of the time recording.
Approval view
Not a separate screen, but a sheet that opens from the bottom: per person or group of people the open days with planned and reported time, above them remaining effort and note if there are any, plus the turquoise ticks for approving. Instructions: Review and approve time.
Document list and image viewer
The document list shows the photos and files of a task with thumbnail, file name, author, description and status. At the bottom right the three round buttons for file, gallery and camera. Tapping a photo opens the image viewer: the photo in full size, swiping pages to the neighboring photo, at the bottom the description, Delete and Replace. Instructions: Take a photo for a task, View documents.
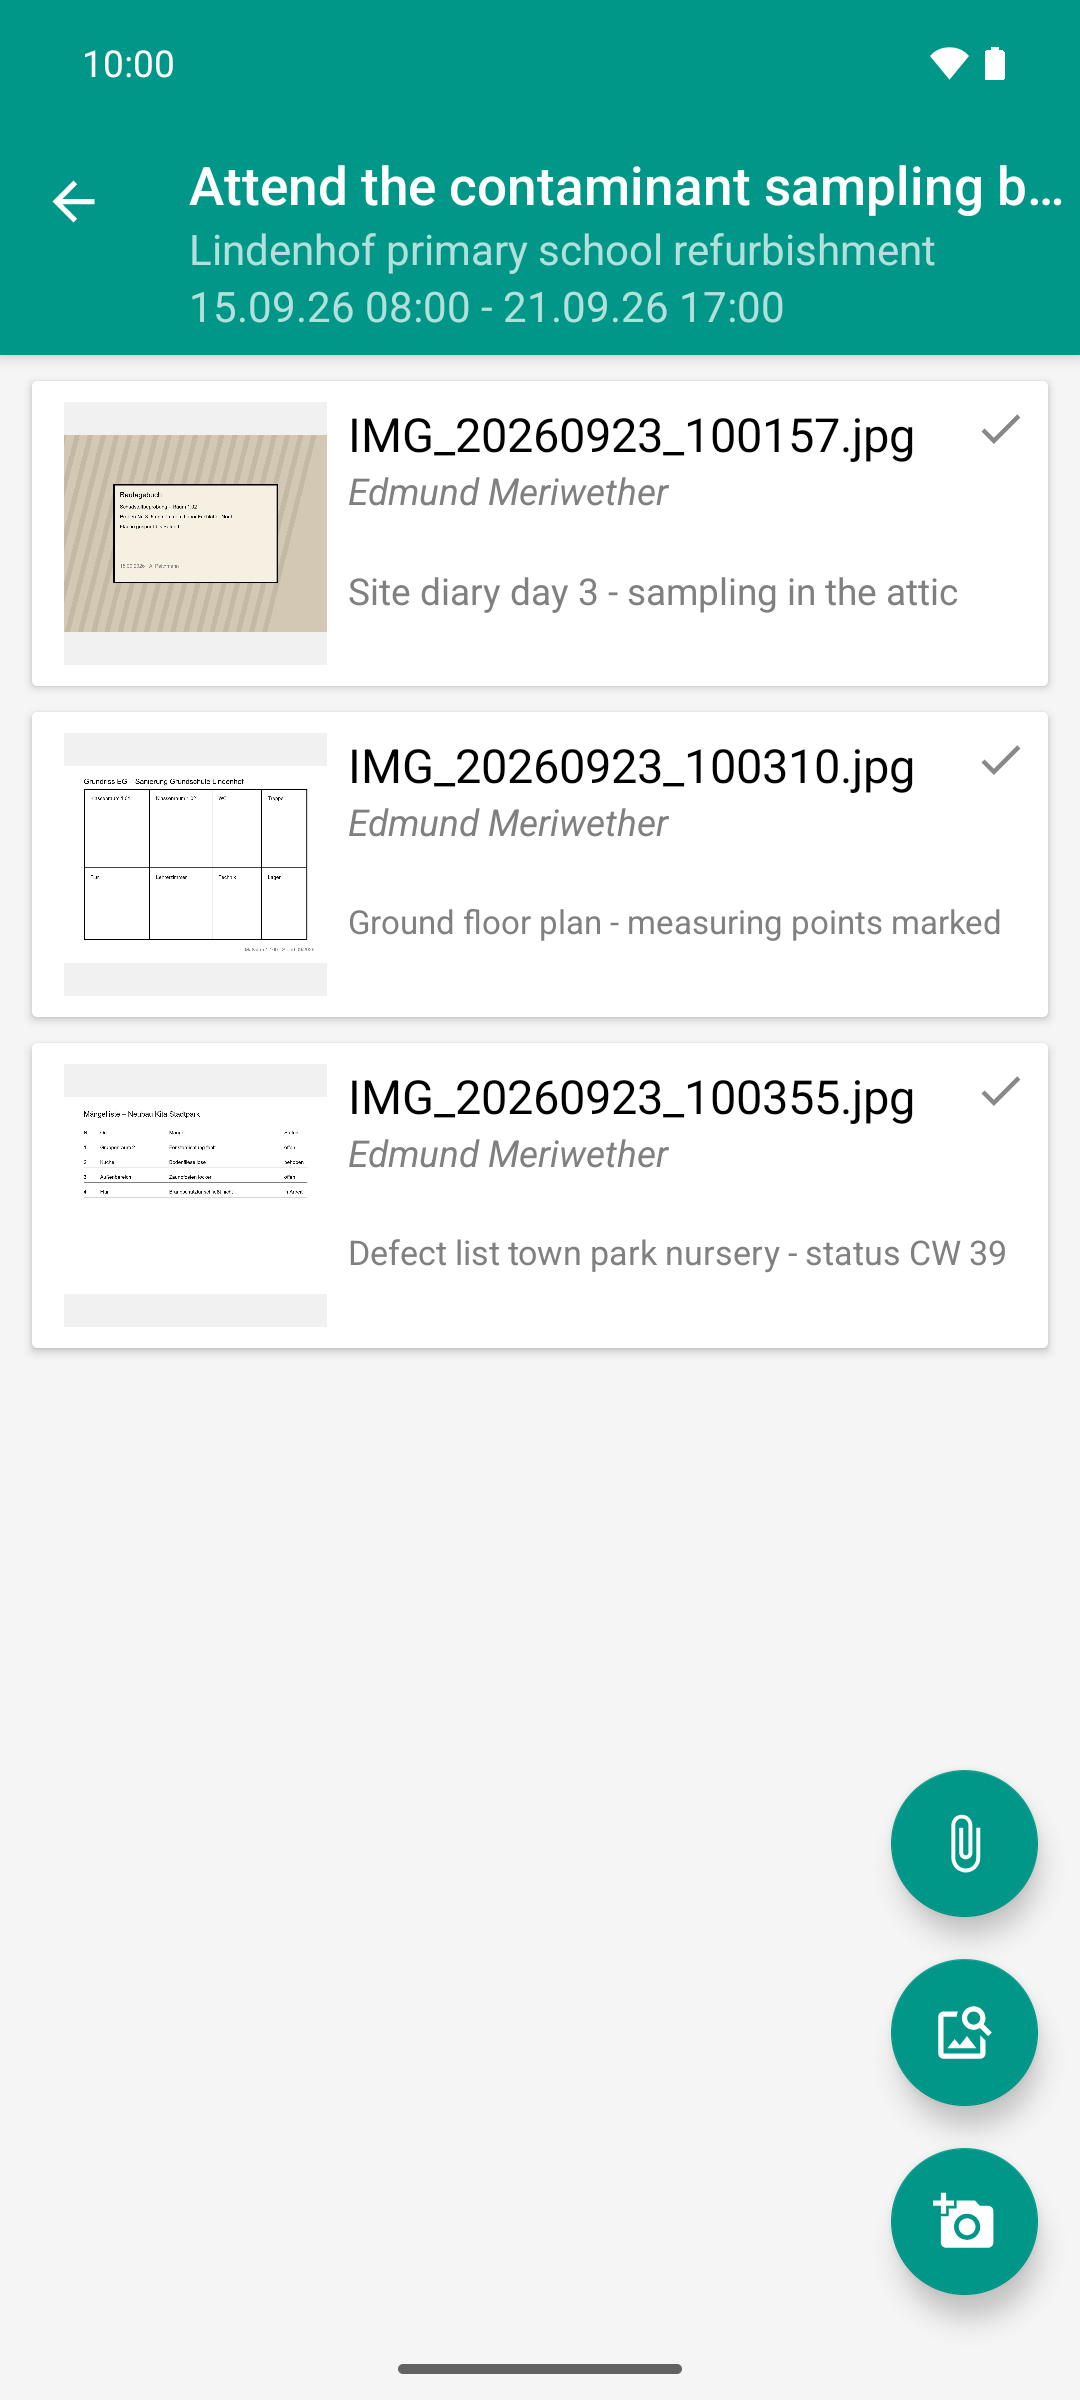
Photos and files belong to the task. Capture, caption, upload - the transfer runs in the background.
Plan board
For the project lead, best on a tablet. The first time you open it, you pick a project; after that the plan board opens the last selected one directly. On the left the table with number, name, approval and photo column, on the right the bars on the timeline with the red line for today. You switch projects from the top bar. From the detail of a task, Open photos opens the document list. Back always leads to the task list. Instructions: Read the project plan on the tablet.
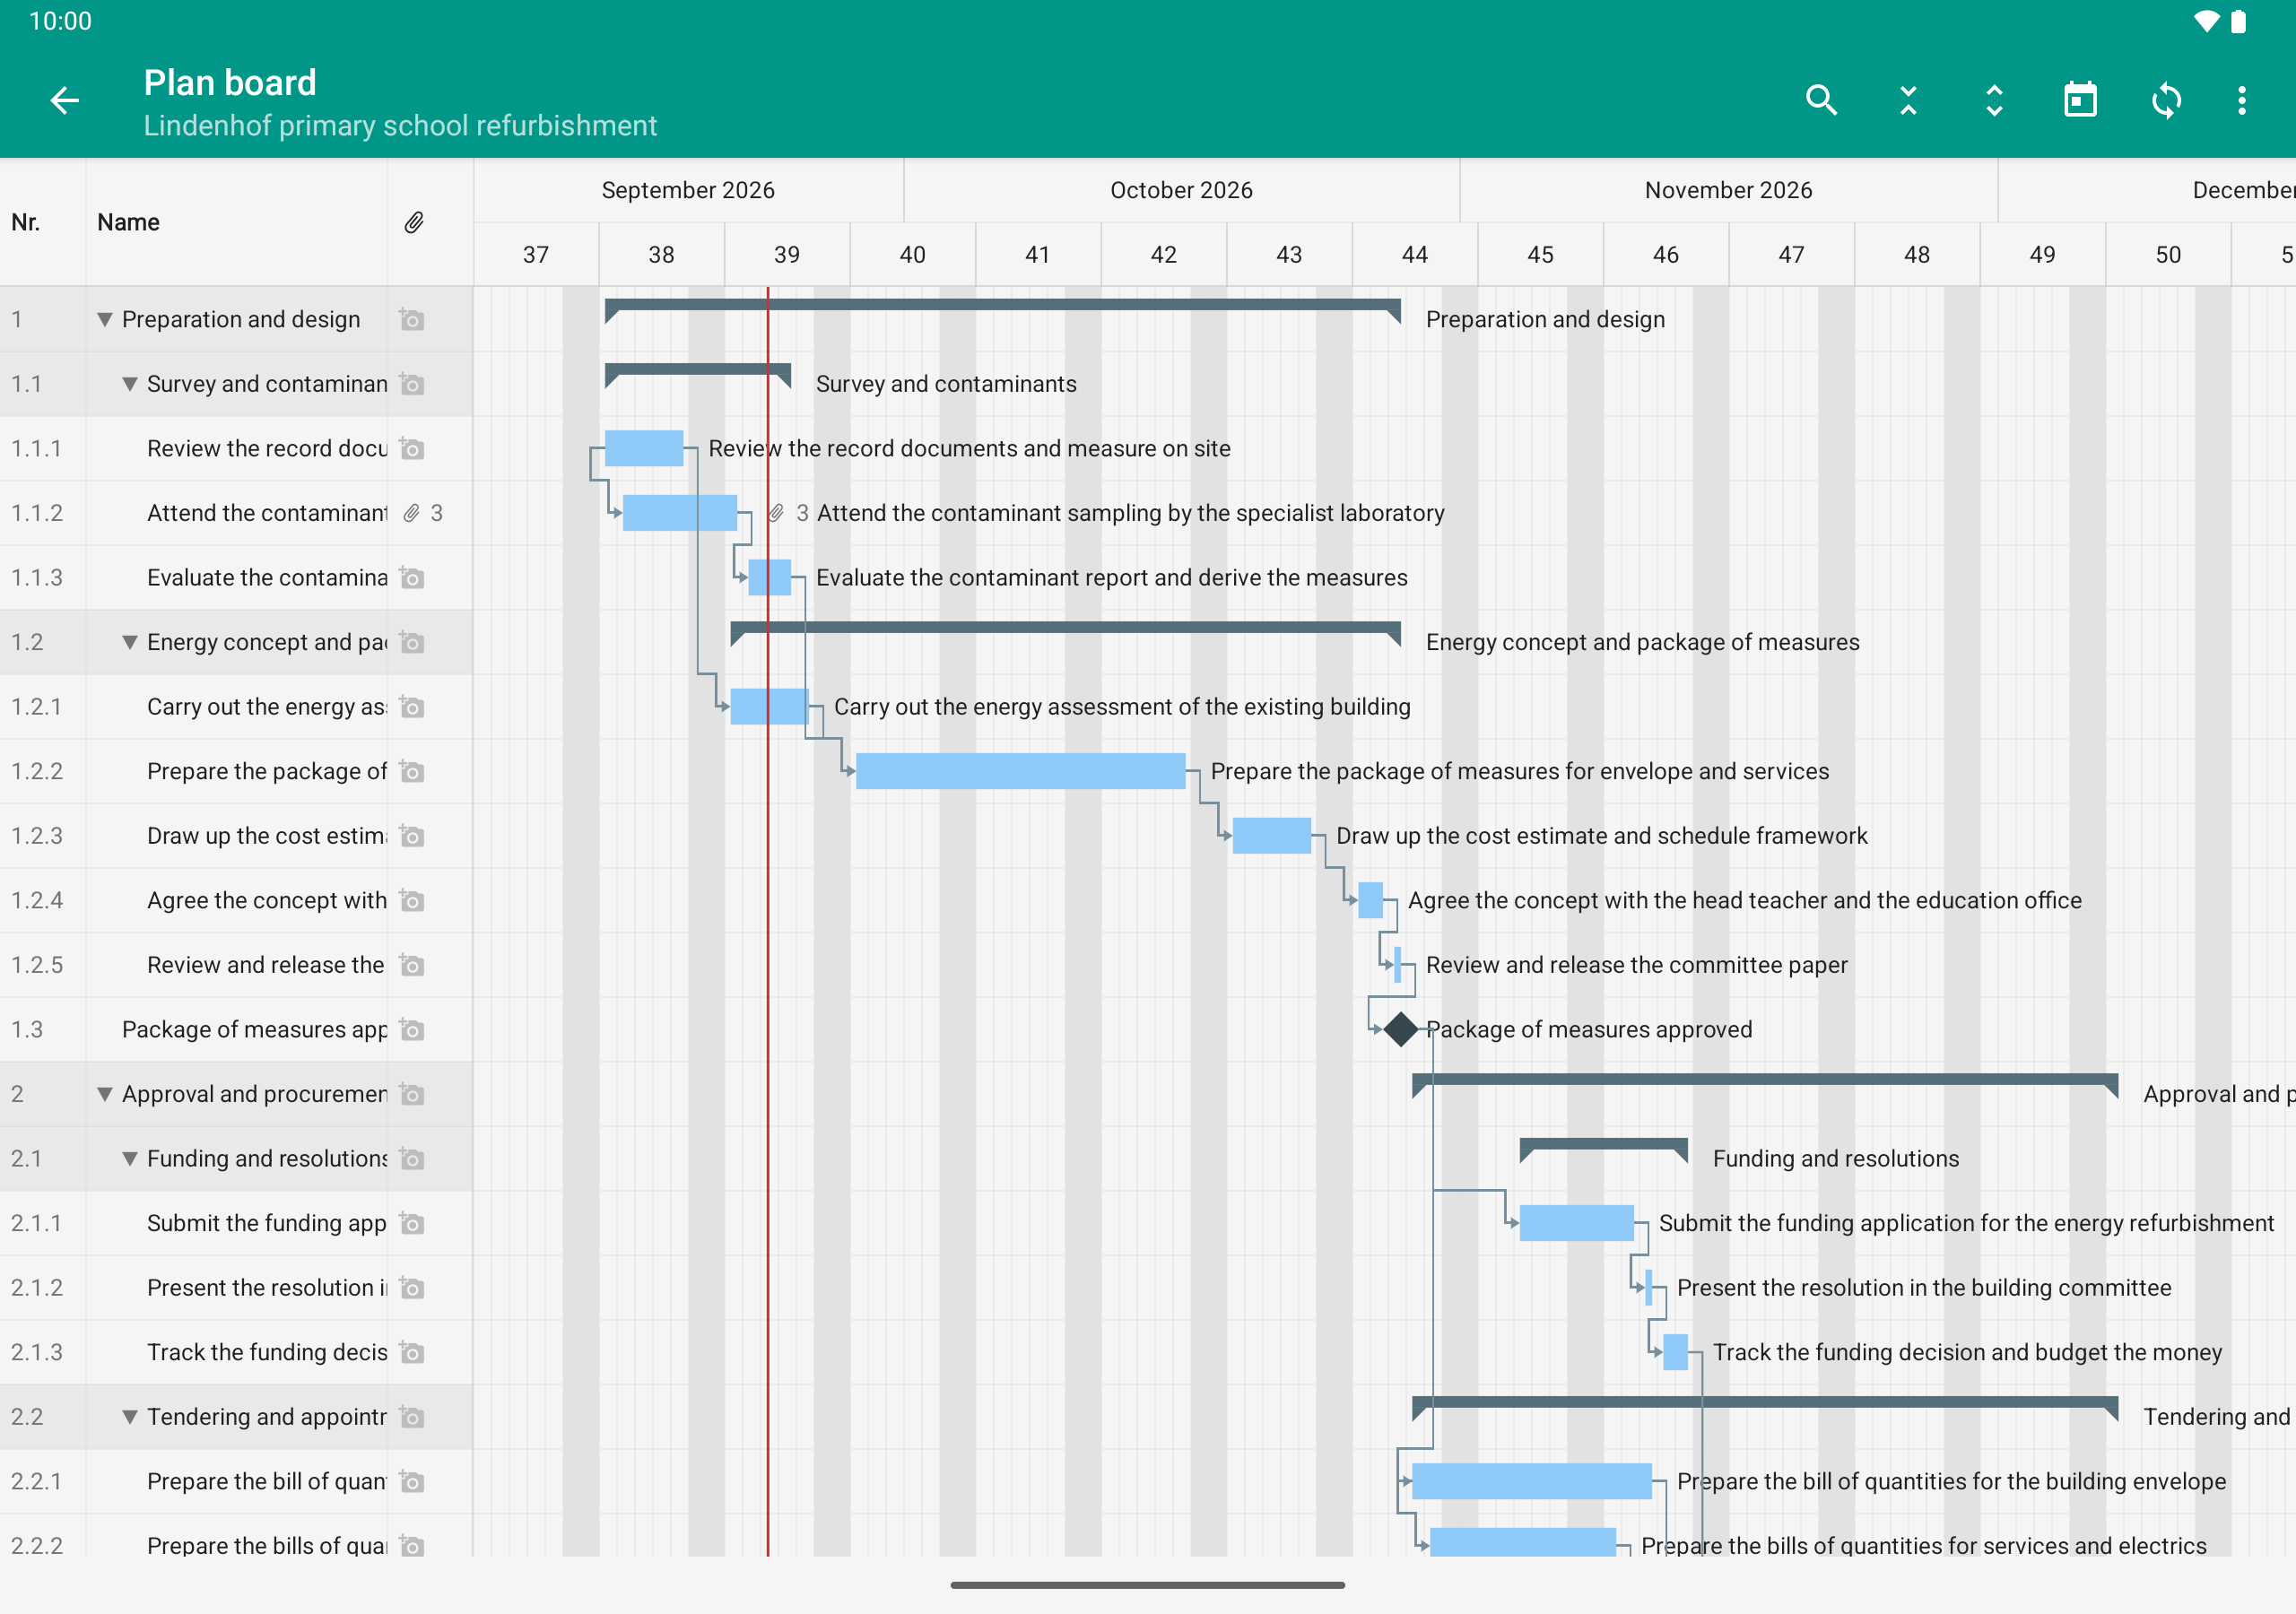
The project plan from Rillsoft Project, read-only on the tablet: tasks, bars, milestones and the photos attached to them.
Vacation requests
The list of your vacation requests and, if you manage vacation for others, their requests too. Then a name bar with one name chip per person is shown at the top. Each row shows period, workdays, name and type, note and status. Below that, if any, the team’s vacations, pale and read-only. The plus button opens a new request. Instructions: Request vacation and track the status.
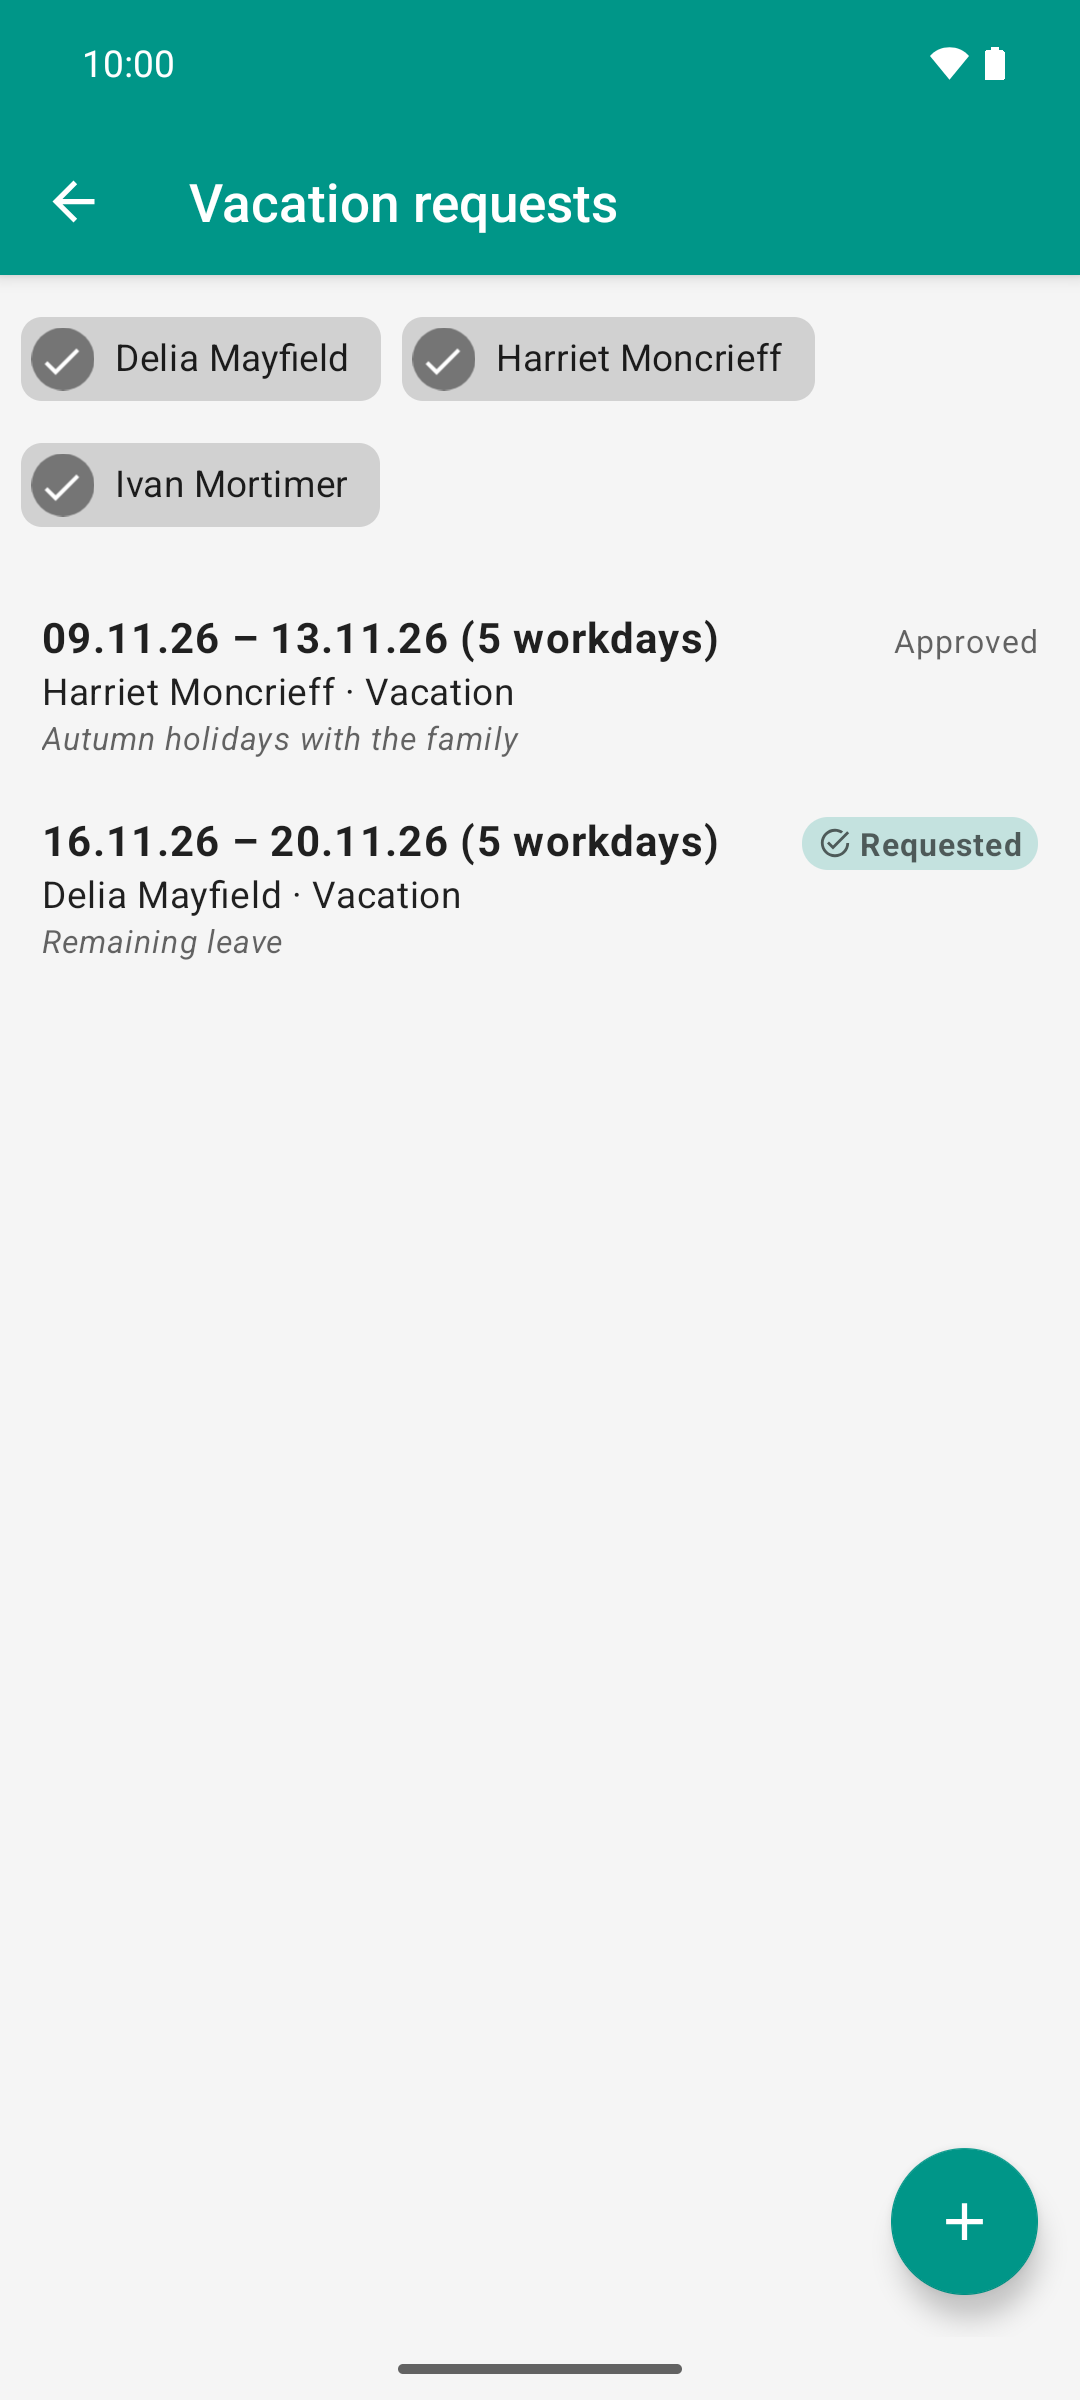
The team lead sees the team’s requests in one list, with workdays and approval status.
Settings
Account, server and general options. All entries are described in Settings.
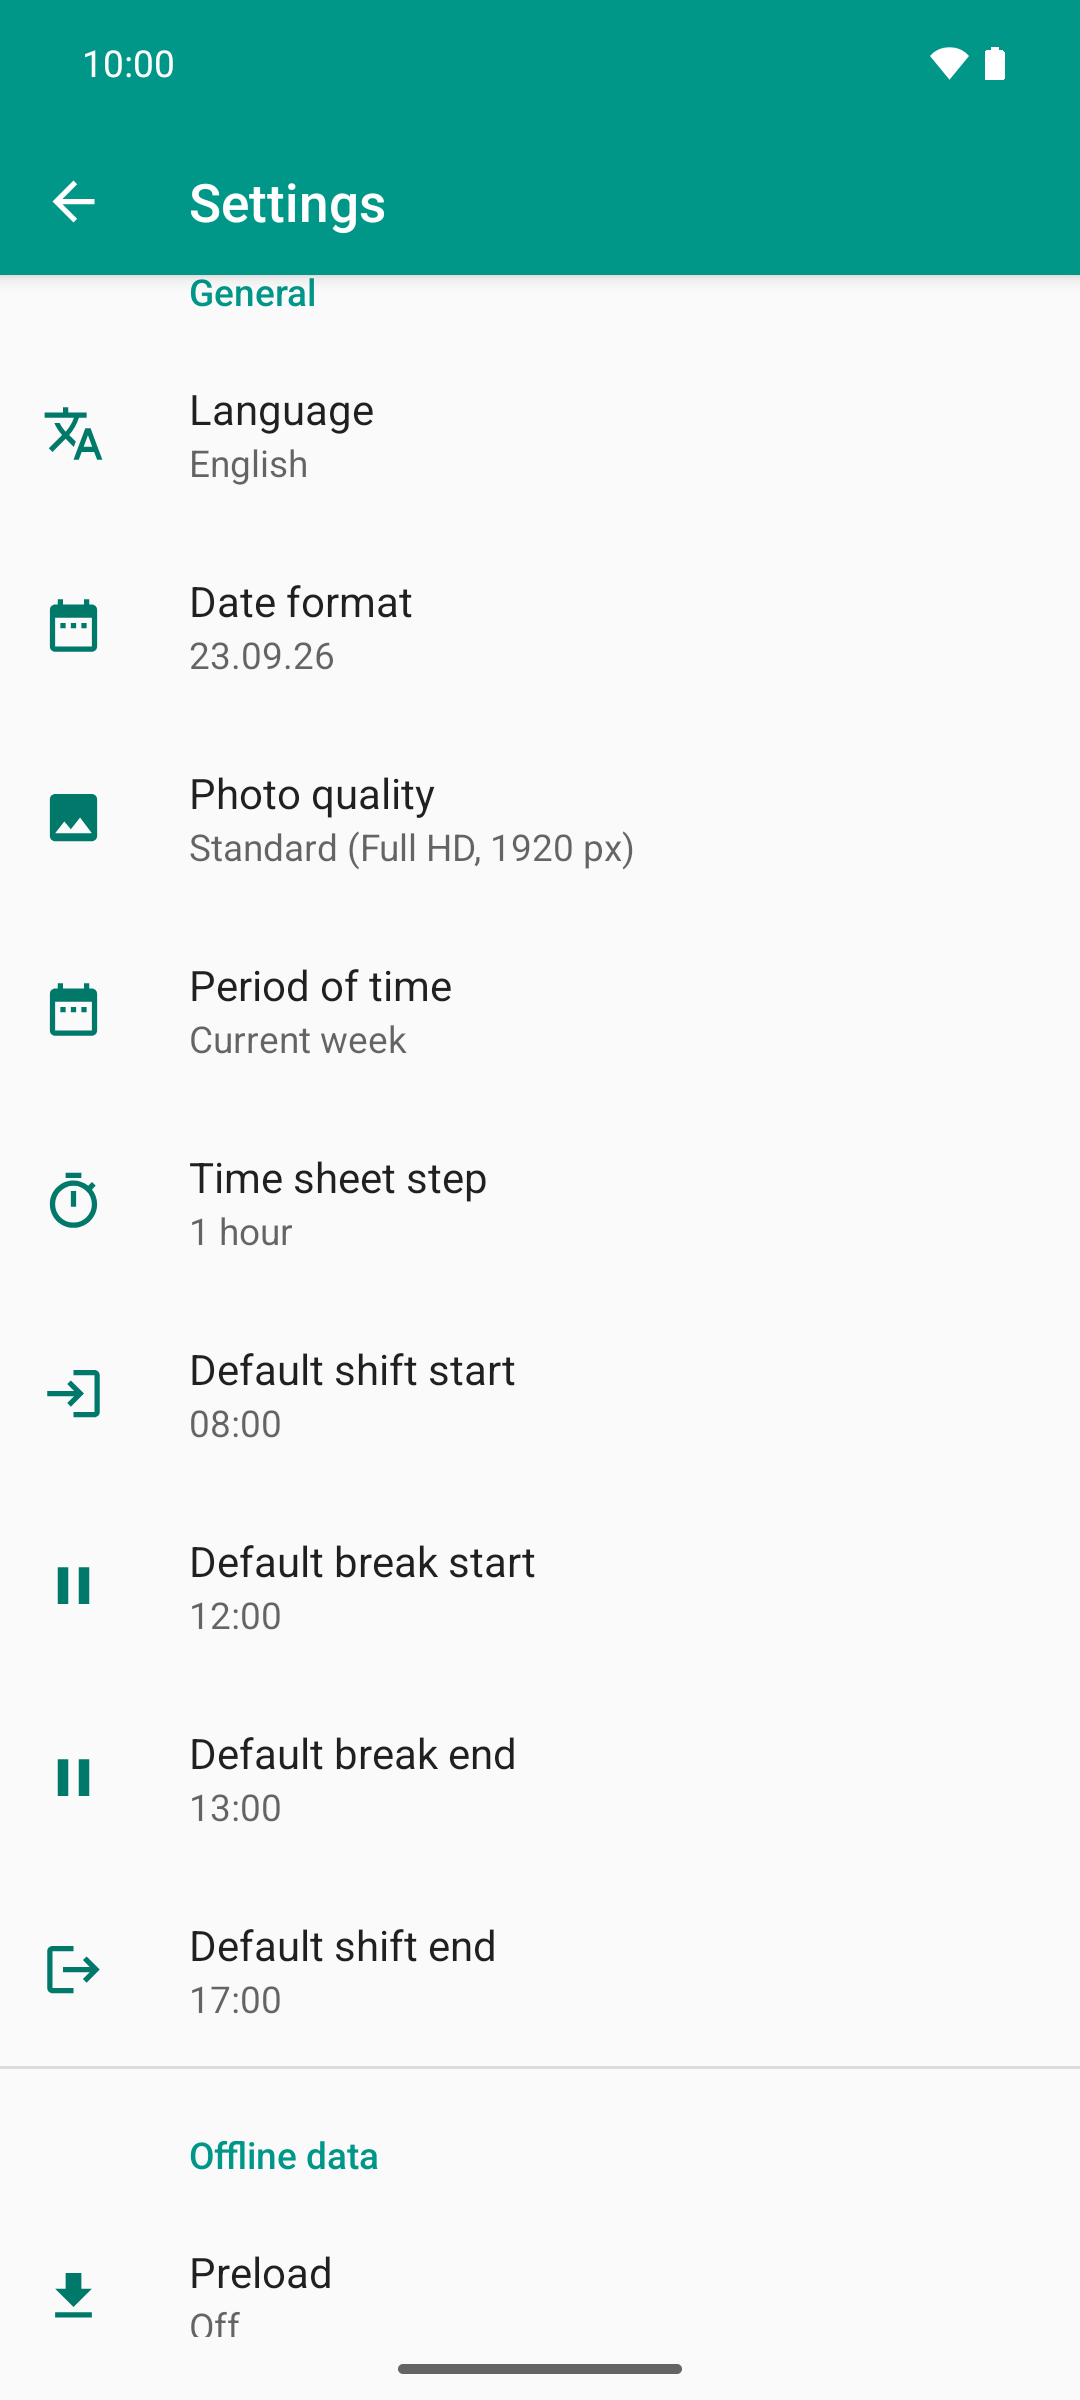
Display and time recording in one place: language, date format, photo quality, period, the time sheet step and the default times new shifts start with.